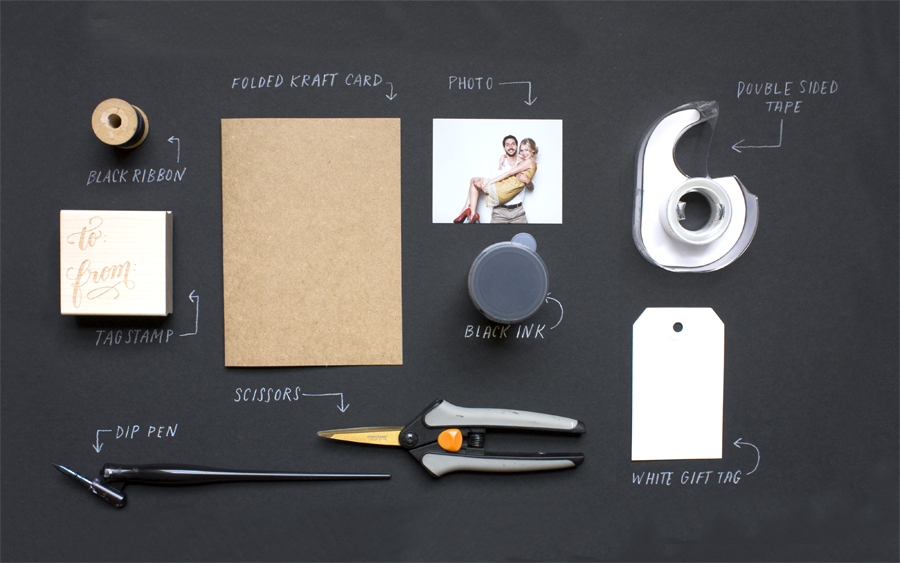
Recently I've been getting emails asking about holiday card designs (I know, I know, it's only September.... But thinking about these things ahead of time is ALWAYS a good idea!). That said, I thought it would be fun to post a DIY tutorial on how to create some fun, custom Holiday cards for you and your family! These are really cute because they look like a present packaged up nicely with a personalized tag to each recipient. Fun, right? Here's what you'll need...
SUPPLIES:
• A cute family photo
• Scissors
• Double Sided Tape
STEP ONE:
On what will be the inside of your card, adhere your photo with the double-sided tape so it is centered and slightly placed towards the top.
Write out a personalized note to the recipient under your photo with either your dip pen and black ink or your ball point pen and black ink.
STEP TWO:
Close your card to reveal the outside front.
STEP THREE:
Tie your card together as if it were a present (it kinda is, though!).
Adorn with your freshly stamped tag to complete the 'gift' look.
You're all finished! Now, stick 'em in an envelope, address, and ship! For outer envelope calligrapher service, feel free to shoot me a message... with plenty of time to spare before the holidays, of course ;-)